Fitzwilliam Museum Photogrammetry workshop
29 November 2018
View the Project on GitHub FitzwilliamMuseum/pump-priming
This project is maintained by FitzwilliamMuseum
Uploading to Sketchfab
Author: Daniel Pett ~ Published: 16 October 2018 ~ Updated: 22 October 2018
Now that you have made a 3D model, you no doubt want to show the world. This can be done easily by using the Sketchfab platform. To do this register on their site and then we’re ready to go.
Exporting your model
You now need to create your model in a format their platform can cope with. So follow these step in Photoscan:
- Press File
- Choose Export
- Choose Wavefront OBJ (*.obj) as the format
- Name your model
- Press save and a new dialogue window pops up.
- Use all of the defaults that appear
- Press Ok.
Your model will now be exported and is ready to go.
Importing into Sketchfab
- Login with your new account for their platform
-
Look in the top right corner for the upload button

- Press upload
-
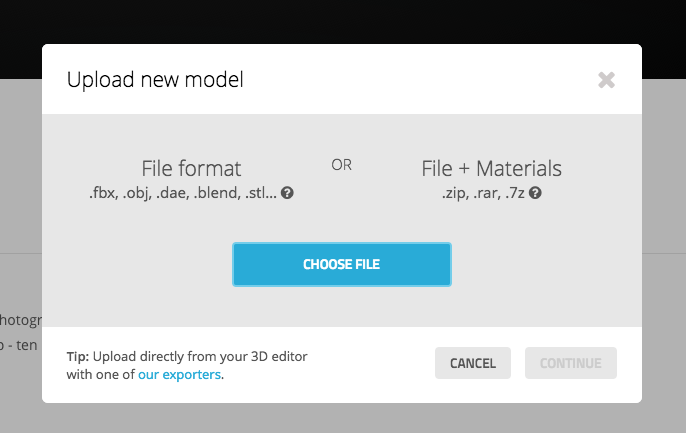
This dialogue window appears

- Choose all the files that have been created for the model (OBJ, MTL and JPG)
- Press upload and wait
- Once uploaded the window will change and you will go to the editing page.
- Depending on the size of your model, it may take some time to finish processing.
- Once it’s finished, your model will now be in Draft Mode.
Rendering it nicely
There’s a massive array of options as to how you can present your model. Sketchfab provide a comprehensive guide on how to render on their help pages, which I heartily recommend.
Previous step: Adding texture Next step: Further reading